Monday, December 29, 2014

Drawing to a Close

Well here we are, on the cusp of another new year.  I planned to show you the quilts I made for my kids for Christmas, one for each of them to snuggle under while they watch t.v. or read, but it turns out in my haste to get them finished in time I took photos of only one. All were done in shades of blue and white, all different patterns and all included scraps of some of Earl's shirts as his contribution. They all seemed to love them but I will have to get pictures of the other three when I visit them at their new homes. 
 Note to self, work on your embroidery skills.
It was a relaxed Christmas, a little time with family, perhaps a new tradition of seeing a new release at the theater with the kids. I haven't taken the decorations down as we will have guests celebrating with us this week, but come the New Year it will be a clean sweep!
I just finished reading Jan Karon's new book, "Somewhere Safe with Someone Good", the first book I have actually taken time to read in so long I can't remember.  What a treat! So good I have determined to re-read the rest of the series beginning to end.  Of course there is that sadness at having finished and wondering just how long I will have to wait to read more of the series. They are such uplifting books, I highly, highly recommend them! I trust you all are preparing to celebrate the New Year, we will be spending it with dear friends, the best way to celebrate! I'll be back later in the week with a year in review.
Let me just say, it is a privilege to share little pieces of my life throughout the years with you. Thank you for stopping by, for saying hello, and for sharing little pieces of your life with me too! I look forward to another year of talking over the back fence with you at ...

Tuesday, December 23, 2014

Merry Christmas

I am taking a Christmas break from all the online merriment for a while.  There is far too much fun to be had offline, and truth be told, I need to concentrate on some last minute gifts I'm working on!
Sunday was a fun family day of decorating gingerbread houses.  So much fun, I'm afraid I ate as much as I decorated with.  Oh well, January and diets await, in the meantime, Christmas is for not worrying about having a few treats.

 Wishing all of you the very happiest of Christmases, and praying that your New Year is spectacular!  I'll see you all in 2015 :>)


Tuesday, December 16, 2014

Ballard Design Hack


One of the things I have the darndest time with, is what to hang on the walls. I know, it shouldn't be that hard, but the truth is I am notoriously fickle with my art displays.  I like to change things up a lot. Add to that a husband who cringes over every hole I have to put in the wall in order to hang something up and, well, lets just say a lot of walls stay bare.  This year when I got my Ballard Designs catalog I saw this really fun artwork that I thought would look great above the bed.  Trouble was, these alphabet block letter prints were $169 each, meaning spelling out the word love would have cost $676.  hahahahaha. no.  Just. no.  I would have to own these until I die and then bequeath them to my children in order to feel justified in spending that much. Just couldn't do it. 
So I hacked it, and I think they turned out pretty darn sweet. And what did they cost in the end? 
$36 Yes my friends, I saved $640 and I can change them out with a clear conscience when I get tired of them. Winning!So here is the side by side. On the left, Ballard Designs, on the right, mine.
Close enough.

Here's how I made mine.
First, at the craft store I purchased four 18" x 18" stretched canvases for 1/2 off.  They cost $7.50 each.  You can use bigger canvases or smaller. Whatever size works for you. You might even want to measure the space you will put them in and decide on size from there.  The space between my windows is 100 inches and I left an inch between each canvas when I hung them.
Then I covered the canvases with this, wood look paper. (not an affiliate link)
It comes in a 4 foot by 12 foot roll so it is big enough to cover just about any canvas size you might want to use it for. I have quite a bit left over.  I got mine free with swagbucks, but it costs just over $8 so still very affordable.
Lay your canvas on the paper and cut it wide enough to wrap all the way to the back of the frame. I added about 1 1/2 inches to each side.  I used a straight edge to cut it straight and then, since it is 4 ft wide I was able to cut the strip in half and cover two canvases.
 I flipped the paper up, found a dark part of the wood grain that was pretty straight and marked on the back of the paper where the wood pattern was. This helped me line up my canvas with the pattern on the front of the paper.
 I just put an arrow on the edge, and another directly across from it. I was able to line up the edges so the pattern was straight on the front of the canvas.
 I tried using mod podge to attach the paper to the canvas. Big mistake. Mod podge makes wrinkles in the paper and I wanted a nice smooth front.  Use rubber cement instead.  It doesn't wrinkle and it has several application methods depending on what you want the paper to do. For example, for a nice permanent bond cover the paper with a thin coat of rubber cement. Don't use the brush it comes with, it puts it on too thickly, just drizzle a little all over the paper and then quickly use a foam brush to smooth it out all the way to the edges. Let the rubber cement dry, it only takes a few minutes
 While your paper is drying, add a thin coat to the front of your canvas and let it dry too.
When both the canvas and paper are dry, lay your canvas face down on the paper, eyeball the marks you made on the edge to get it straight, and then press down and smooth the canvas onto the paper.
Flip it over and make sure the paper is pressed down everywhere.
 Add rubber cement to the edges and back of the canvas.
 I cut a slit to the edge of the canvas, then another slit about the thickness of the side of the canvas.  The strip that you see below, will be folded up along the side of the canvas and keep any white from showing where the edges of the paper wrap around.
 You will fold up one side, in this case the side with the arrow on it, then wrap the extra strip around the next side.
 It will look like this. See how the extra strip will cover the corner and make a neat finish?
 Then just smooth the next side up over the strip.
 And this is what you have.
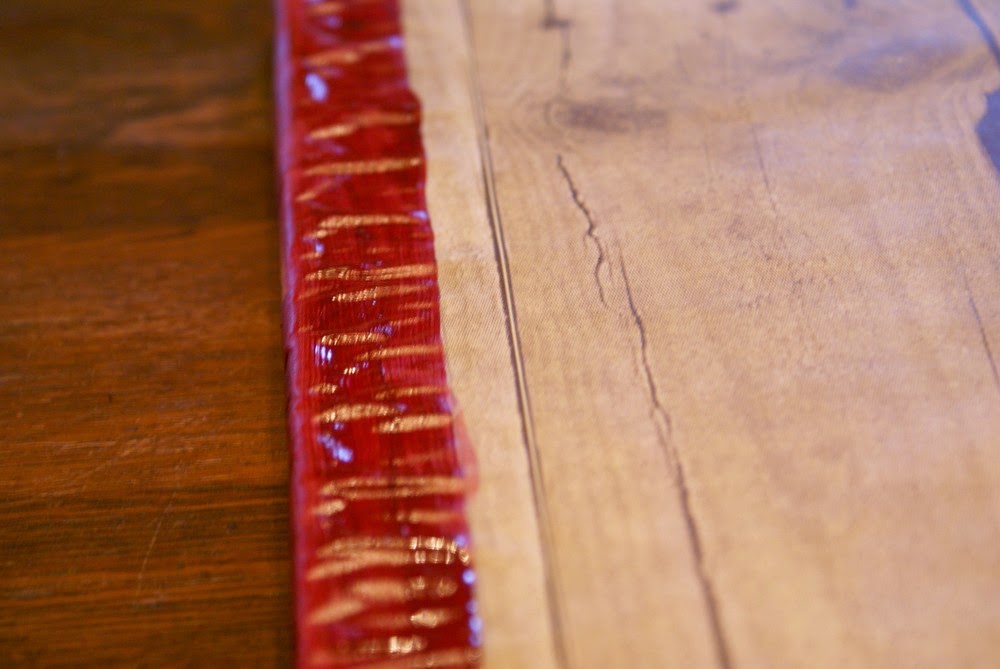
Next I wanted to add the red trim. I tried painting it on, it wasn't as easy as I anticipated and worst of all, the wet paint made the paper wrinkle!
I fixed that by cutting a strip of adhesive vinyl, (3 sheets on sale cost about $6), wide enough to cover an inch on the front of the canvas and wrap around all the way to the back, so the side of the canvas would also be covered.  I did this to two opposite sides and then finished the sides that were left. This gave me a uniform finish on the corners.
 To make sure the vinyl gave me an even edge I used a pencil to mark a line 1" from the edge all around the outside of the canvas. Even if you don't get the edge of the vinyl lined up perfectly, the pencil won't show, it blended right in with the other grey lines in the wood pattern.
 Line up your vinyl, smooth it down and wrap it to the back.  I used my Silhouette cutter to cut the largest letters I could out of  cardstock and attached them with rubber cement. I also made sure they were centered and measured the space at the top and bottom of the letter to make sure they would be level and even when I hung the pictures.  You're done!
 I used a level to make sure my nails were straight across and then I used a few command strip adhesive strips, without hooks, to make sure the canvases stayed straight.

We both love how this project turned out!
As with any first time project I learned first hand that there are some pros and cons and different ways to get these results.
 
Canvas Pros:
 
1. I like the fact that I don't have heavy, glass filled frames hanging above my head at night. These were light enough to hang with command hooks so if you have a nail phobic husband it's all good.
 
2. The cost is minimal. I wasn't able to find 18" narrow frames to approximate the look of the Ballard Designs artwork. I didn't look all that hard so you might be able to find them, and for a reasonable amount of money.  It would simplify the whole process to use frames, since you wouldn't have to deal with adhering the paper to the canvas, just cut and frame. Also, I am pretty sure that if you wanted smaller letters you can get 12" square frames pretty easily.  I wanted the larger size.
 
3. When using rubber cement there are different application methods that either give you a permanent bond or a removable bond.  For the letters themselves, I used the removable bond method, so in theory, I could change the letters to spell something else! I thought of spelling JOY for Christmas, but with only a few weeks of the season left I decided on something a little more all season. But imagine how cute this would be with a wreath instead of the "O" in either of those words! SO  many fun ways to use this!
 
Cons:
1. If I could find the larger frames for a comparable price I would have used them. As I said above, they would simplify the process greatly.
 
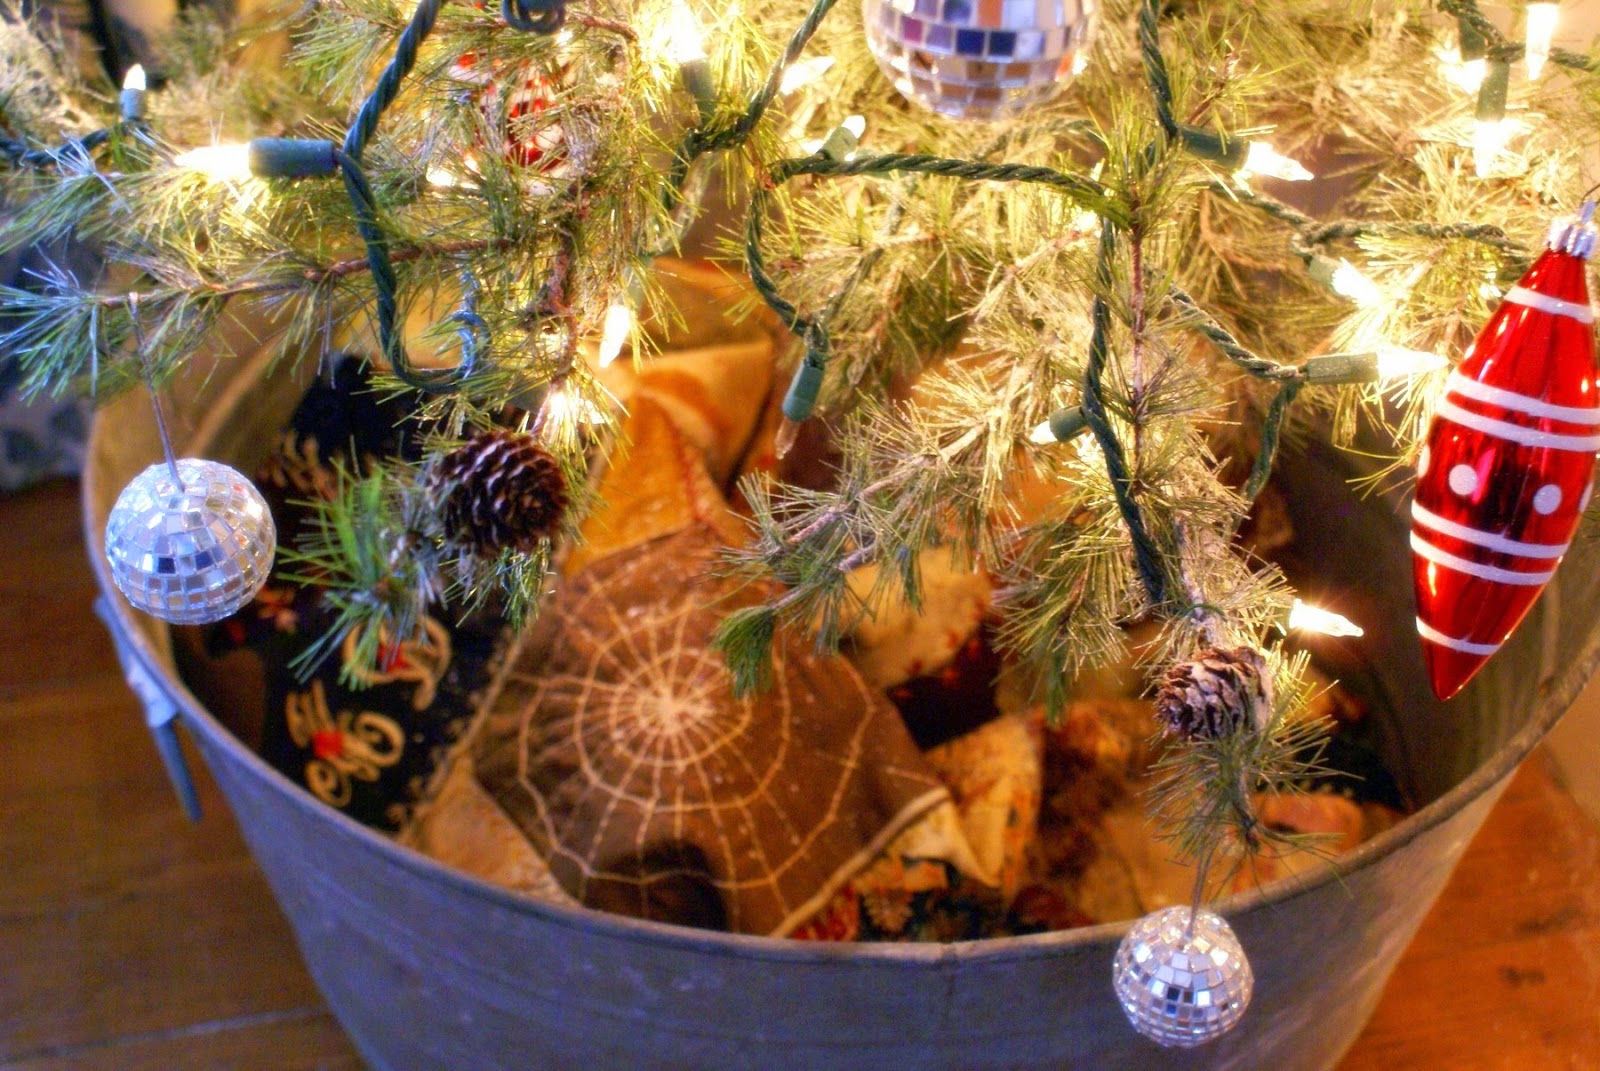
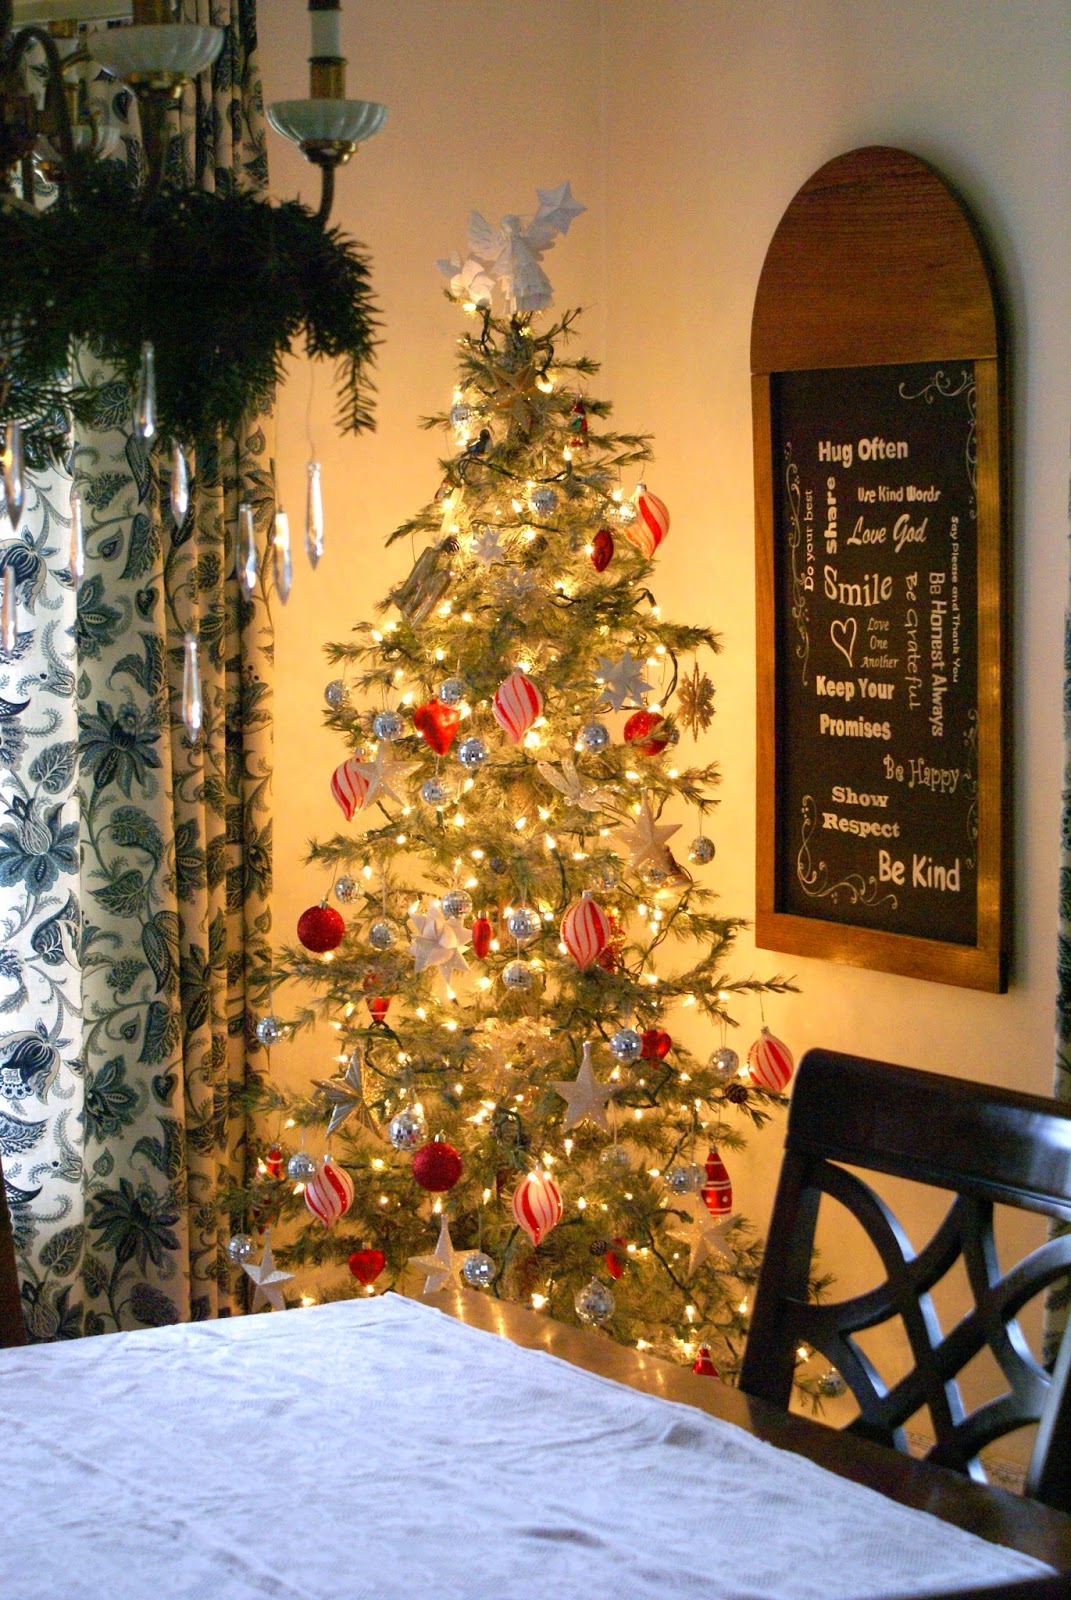
I added the tartan flannel pillow cases and a few decorations, and I love how this room turned out. When Christmas is over it will still look cute:>) 
 
How is your Christmas going?  What is your favorite project of the season? Baking? Decorating? Sitting by the fire?  


Wednesday, December 10, 2014

Decorating the Tree

Today I have finally been working on some Christmas decorating.  I started way back before Thanksgiving and got the bare bones of greens and lights up for when the girls came home, then, after they left, I kind of burned out on the whole thing.  Adjusting to not having kids at home hasn't been easy.  So I pulled out the ratty, second hand tree that I have had for years and went to work. This may be the first time that I have not put up a real tree. Ever. The ratty tree was a fall back, an extra tree to tuck in somewhere, but never the main focus.  This is it's last Christmas, (Shall we observe a moment of silence?)  and since it will go to the curb after the holiday is over I decided to spray it with the two cans of spray snow that have been lounging in my basement for years.  I can't even remember when I bought them. I had my doubts that they would work, but they covered the little tree in foamy white in no time.
By the time I put the lights and decorations on, most of it had fallen on the floor.
*sigh*
 The first thing to go on were my mirrored disco ball ornaments and glittered stars.
Disco balls and glitter are my love language.
 And then the red and white ornaments.
You didn't think I could decorate a Christmas tree without red did you? 
I popped the whole thing in a galvanized tub, and filled that with a beautiful tattered crazy quilt that a friend gave me.  It is quite worn, but I hated to cut it up. This is the perfect way to use it:>)
 

 These photos were taken in late morning and the gloom is so thick you can cut it with a knife. I had to seriously pump up the exposure on the camera and in my photo editing program.
But the lights on the tree help chase away the gloom. 
I added crystal chandelier drops and greens to the chandelier, if the sun ever comes out I'll have sparkles everywhere.
 
I will be adding more photos of my Christmas decorating as soon as it's done and there is enough sunshine to actually take a photo.
 
I'll be honest, I'm woefully uninspired this year. I'm keeping it simple and trusting that my creativity just needs a resting period and will come back renewed and refreshed at some point.
But the truth is, that whether I decorate to the nines or just put out a few lights, Christmas isn't about decorating, it's about what is in our hearts and what we do for others. I am enjoying less pressure, less commitment, and less work this year.
How about you? How is your Christmas season going? Overbooked? Overstressed?
Maybe it's time to make some hot chocolate and take a breather.
Sending Love ♥
 
Kathy
 

Monday, December 1, 2014

"Chicken" soup.

I had planned on doing some more holiday decorating today, instead I am fighting whatever bug has left me sniffling, achy and feverish.  It's that time of year.  Whenever I have a loved one who feels this way I make my favorite Chicken soup recipe and rush it right over. I don't know for sure that it has healing properties, but it sure tastes good when you're suffering.
 I shared this four years ago when a blog friend was feeling ill.  Of course, this time I had leftover turkey and the broth I made from the bones so it isn't technically "chicken" soup, but it tastes just as good and it's a great way to use up that turkey.  If I weren't sick already I would have made it up and frozen it without the noodles, I would have also put the chopped turkey / chicken in a separate frozen package. I don't like to overcook the meat when it has already been cooked.  Then I could thaw the broth and veggies, add the noodles and meat and be ready to eat in no time.
I did a step by step recipe at the link, don't let it intimidate you. It looks like more work than it is and it is so good for you and so worth the effort.
Now, I'm off to grab the nearest quilt and veg on the sofa until I can breathe again.
The good news is, about all I can do is visit blogs. Everything has a silver lining ;>)

Tuesday, November 25, 2014

Catching Up

Well goodness, it's been a while. I've been busy with so many things, reorganizing the house for one. Shifting Earl's old office to the new space means a shift in almost every other room in the house in one way or another. Add to that the organizing and nesting frenzy I always feel as soon as I am shut up in the house for the winter and I've been a busy girl!
Christmas comes early for us this year, my daughter and her husband from PA will be here for Thanksgiving, (oh I am SO excited!) but not Christmas, :( so we will be celebrating both holidays with them this weekend. To that end, I have been adding some Christmas decorations to the house a little at a time. A little Christmas cheer doesn't get in the way of our Thanksgiving at all! It just makes the house more festive. We will have 16 around the table this year, a good full house of family.
 I have hung the star candle holders in the dining room windows. I have had these for so many years and they are one of those decorations that I love.  I light them nearly every dark evening of winter.  Victoria even informed me that she wanted the same star shaped hanging lights for her new home this year. It warmed this mom's heart to hear it:>)
 No real tree yet, it's far too early for it to survive until Christmas, so I set a small artificial tree out for some light and warmth.  I haven't even decorated it yet, but the lights are so pretty at night, and even during the day. We have had such dark, dismal weather this week, I have been glad that I had some Christmas lights to turn on! I also hung my favorite snapshot series of the girls, taken several years ago.  I shooed them outside after a fresh snowfall and they hammed it up so adorably.
 The shelves in the living room have been topped with greenery and some pheasant feathers I had hanging around. I think it manages to look Christmasy and perfectly appropriate for Thanksgiving at the same time. I'll add some Christmas bling later.  On another note, I finally broke down and bought some battery operated candles. I haven't tried them until now because I was afraid they would look fake.  I am thrilled with how real they look and the fact that I can put them places that real candles can't go, such as wood bookshelves. I will absolutely be getting more!
The small tree next to our bed, this year it goes in a white enamel double boiler I found at a garage sale.  I love how it looks in it's odd little container.  I have so much more decorating to do, but just bringing out the lights and having some little touches here and there will make it feel like Christmas when the kids are here for the weekend. 
If you are in America, I know you are all looking forward to Thanksgiving this week too.
Wishing you a Happy Thanksgiving and a wonderful weekend with family and friends!

Tuesday, October 28, 2014

Autumn Decorating

As a rule, I am not a big fan of the color orange. You won't find it in my home any time other than Autumn. But who can resist pumpkins and the deep colors of orange, and gold, and red that fall brings? Orange finally fits right in.
 I grabbed one of the wooden boxes Earl built for the wedding and the lace covered candles still had lots of life in them. By adding some mini pumpkins and some faux and real bittersweet I have a warm and cozy centerpiece that can be used anywhere.  It's candle lighting season after all, and I am not one to waste an opportunity to light the dreary days, (it's raining today!) or dark evenings with the warm glow of candlelight.
 Yesterday was probably one of the last warm days we will have here. We took the opportunity to walk an old wooded trail that used to be a railroad bed. I have been coveting bittersweet for a few years. I have heard it's protected, and besides, I wouldn't cut anything along a public trail that is for the enjoyment of everyone.
Lucky for me, the utility company had gone through and cut the brush along the trail that was directly under the phone lines. Along with the brush was a plentiful supply of bittersweet that had been cut right along with it. I filled my arms with all I could hold and felt as happy as if I had discovered gold.  Some of it went into an interesting old jar I recently found at a church sale. I have it next to the kitchen sink. By the way, there is nothing like blogging an area to inspire a good clutter clean up. Maybe I should systematically be photographing and blogging the house?  Ha!  Maybe not.

I hate to say it but the weather is turning colder and drearier. Friday we are supposed to get something that rhymes with the word NO! which in a word describes how I feel about that particular weather event most of the time.  Time marches on, Autumn is winding down.
Are you starting to think about Christmas?

Monday, October 20, 2014

One Set of Dishes

Earl and I were having dinner with friends recently.  I admired her dishes and she explained that they were the every day dishes that she had purchased years ago when she was first married, and that she liked them so much they were the only set she owned and used.
Earl's reply? "Yeah, we only have one set of dishes too."  I could only look at him and wonder who he had been living with for 34 years. "We only have one set of dishes?"
 Well, ok. There is the set of plain white dishes that I won in a giveaway a couple years ago. We use them the most right now.
 And then there is the set of brown transferware that I use for Thanksgiving dinners. I picked up the set at Salvation Army for a song, one of my best finds yet.
 Of course I love my set of red transferware too. Picked up at Marshalls years ago. I have been thinking of swapping the white ones out for these for a while just for a change. I lve red.
 And then the set of Johnson Brothers rose chintz that we have used for years for Christmas and Easter. The girls love these :>) Those came from the church garage sale. Another steal at $15 for a big box of everything from dinner plates to salad plates and tea cups and saucers.
 And you do remember the Wedgewood that I bought at the garage sale a couple years ago? $2 a plate, and I meant to put them in the etsy shop but I. just. can't. If I ever find more of these I'm adding to the set. You were with me at the garage sale. remember those?
And of course this sweet little tea and dessert set that you bought me just because I fell madly in love with them at an estate sale.   I didn't pull out the odds and ends of pretty dishes that I mix and match.
One set of dishes?  I don't think so.

How about you, are you a dish lover too?

Tuesday, October 14, 2014

Apple Pie

I think we can all agree that apple pie is an all time favorite for most people.  There must be a million recipes floating around out there and I don't claim to corner the market on good pie. I will say this, I believe apple pie should be simple. It should let the flavor of the apple shine through.  I've seen recipes for apple pie with cheese (why? why would you do that?), caramel, berries, they all have their merits, but when I want apple pie, I want plain ol' apple pie with lots of apples, a little cinnamon and some fresh grated nutmeg.  You can't go wrong if you keep it simple.
Fancy up your crust if you must, but let the filling speak for itself, and regarding filling, it's all about what kind of apples you use. I prefer macintosh and granny smith. This last time I added some honeycrisp, because that is what the apple committee gave me! It was a really great combination, with the tart apples giving that tangy apple flavor and the honeycrisp bumping up the sweetness perfectly. So without further ado, here is the recipe for apple pie that I use. Simple, easy, cozy, and just plain good.

Crust

1 3/4 cups flour
1/4 teaspoon baking powder
1/2 tsp salt
1 Tablespoon sugar
1/3 cup shortening plus 3 Tablespoons of butter (these should be cold)
6 Tbsp ice water

Note*  Hydrogenated oils are BAD for you. I have been using an organic non hydrogenated shortening that I find at Kroger in the gluten free and health food aisle. It is called Spectrum Organic shortening and it works fabulously. If I can't find that I prefer to use non hydrogenated lard when I can find it.

Mix all the dry ingredients together, add shortening and butter and cut in using a pastry cutter or fork until the shortening is the size of small peas and incorporated throughout the flour mixture. You want these little chinks to make your pie dough flakey and tender.  Once you have the shortening and butter incorporated add ice water (no chunks of ice please) one Tbsp at a time, drizzled over the flour mixture and mixed in with a fork.  When you have all of the water incorporated you should be able to gather the dough all together into a ball. If it is still a little too dry you can add a little bit more water until it holds together.  You don't want it too wet, you just want it to hold together.  Wrap in plastic wrap and refrigerate for at least 30 minutes.  This is enough for a two crust pie.

Filling

For a 9" pie
6 cups thinly sliced , pared tart apples
3/4 cup sugar
1/4 cup flour
1/2 tsp nutmeg
1/2 tsp cinnamon (or a little more if you really like cinnamon. I usually use up to 3/4 tsp)
a dash of salt
2 Tbsp butter
 
Heat the over to 425. Prepare pastry by cutting it in half and rolling out 1/2 of the crust at a time. Place it in a 9" pie plate.
For the filling stir together the apples and all ingredients except the butter, and turn it into the prepared bottom crust.  Cut the 2 Tbsp of butter into chunks and dot the top of the filling with the pieces.  Roll out the top crust and lay it on, crimp it around the edge, cut slits in the top for steam to escape and pop it in the oven.  Some people say you should cover the edge with foil the first 15 minutes, I never do, and my crusts are fine. Bake for 40 to 50 minutes or until the crust is brown and the juice begins to bubble through the slits in the crust.  Just a suggestion, I always line a cookie sheet with foil and bake the pie on it. It catches any juices that might bubble through and it keeps my oven clean and is easier to clean up than gooey sugary filling baked onto the pan.
 
And there you have it, easy apple pie that will make your mouth water and your husband smile. Enjoy!


Monday, October 13, 2014

Michigan Apples

Last week we had a little mid week adventure. The Michigan Apple Committee emailed me and asked if I would like to be part of a bloggers tour for Michigan Apples. You must know how much I love apples for baking in the fall by now, so I said yes! I boldly asked if I could bring Earl with me, (why not make it a mid-week date!?) and they kindly said yes. The day was bright and sunny, windy, but not too cold. We grabbed a cup of coffee and drove the two hours to Grand Rapids for the tour.
  We started at Sietsema Orchard for a farm to table lunch served up by Saburba of Ada, Michigan.
It included all sorts of dishes that incorporated apples, including a veggie burger with slices of cheese and apple on focaccia, sausage with apples, a delicious slice of something like apple crisp but firmer and more like a cookie and a fabulous potato salad with tiny blue and gold potatoes. We enjoyed it all in the brisk autumn air at a table set up under a pergola before we got to tour the orchard.
 The only blurry photo I was able to get of all of us at the table. My only regret was that there was very little time to really meet and get to know any of the other bloggers. It was a jam packed tour and it didn't leave a lot for time for introductions.
It's a lot of fun seeing the behind the scenes reality of the orchard. Sietsema's Orchard makes not only regular cider, but hard cider. You can see the crates of apples and the vats and oak casks involved in the photo below. They have one type of hard cider that is made with heirloom apples and part of the proceeds benefit a local hospital. The orchard itself is homey and pretty. They offer farm to table dinners to the public and they seem to sell out quickly, so if you are in the area I would suggest you make reservations well in advance. If the food we ate was any indication, it would be a really great meal.
 Our next stop was Younquist Farms in Kent City, Michigan, where we learned about growing apples and got a first hand look at the harvest. It was so beautiful there, and amazing to see crate after crate of freshly picked apples ready to go to the plant to be processed. We also learned a lot about apple growing, and Earl and I think we might want to add a very small stand of apple trees to the garden in the near future.
 Then it was off to Jack Brown Produce, Inc. in Sparta. Jack Brown is a packing house and it was so interesting to see behind the scenes. The crates you see below are apples that are placed in huge storage areas to be stored throughout the year. Ever wonder how the apples you buy in March are as fresh and firm as the ones you buy in October? These storage areas are sealed and the oxygen is replaced with nitrogen to basically put the apples to sleep. I was also surprised at how many steps there are to packaging, everything from floating the apples out of the crates (because they have to be unbruised and undamaged through all of this!) to washing, sorting, waxing and bagging.
 But lets get real here. Most of us don't want to hear the statistics, like Michigan is #3 in apple production in the U.S., we don't need the details of how they are grown and processed.  Fascinating as it is, we are more focused on one thing. Eating them!
And of course, one of my favorite ways to eat apples is in apple pie!
I made 10 this weekend. And no, I didn't eat a single pie, not a bite.
But I'll share with you. Tomorrow, my recipe for apple pie :>)
What is your favorite autumn use for apples?

I was compensated for this post in the form of gas reimbursement and a bag of apples.  No profit was made and all opinions are my own, as usual ;>)